In the 3D scanning process, tools and workpieces can be scanned very quickly and easily in the HELICHECK 3D or in the measuring machines of the HELICHECK PRO and HELICHECK PLUS series with the "3D sensor" option and their geometry captured in its entirety.
For this purpose, special sequences on the circumference and forehead are used to map a high-quality model. This model serves as the basis for all further steps that follow the 3D scan.
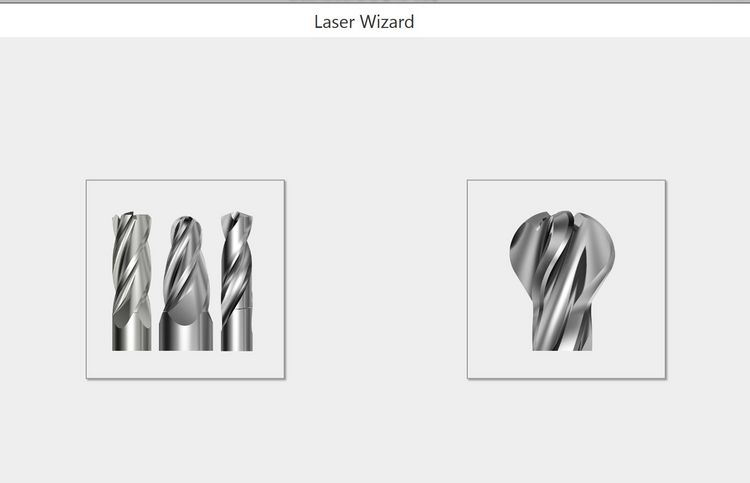
At the beginning is an intelligent wizard that makes it as easy as possible for the operator to automatically scan any tool with just a few clicks. Only the desired length of the scan, the largest diameter and the number of cuts at the circumference must be specified in order to receive a closed point cloud as a result of the scan a short time later.

The operator decides how to use the result, i.e. the points cloud. Walter provides his customers with two applications: The 3D Matcher and the 3D Tool Analyzer.
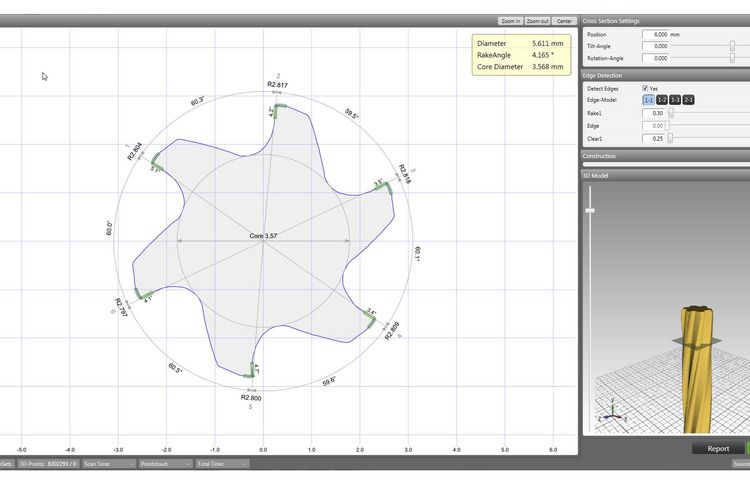
WALTER has developed both applications specifically for the analysis of the scanned points cloud. Here, the operator can first measure individual parameters against the tool, such as chip and free angles or core diameters. To do this , you cut through the point cloud at any point and measure it directly in the 2D cut.
3D Matcher software can be used for quality control across the entire tool length. At first glance, a meaningful colour scheme provides an indication of the part of the voucher or the committee. From measuring with the 3D tool analyzer to comparing it with set geometry, the machine operator has a wide range of options to use this new technology of 3D scans in its modern production environment.


